Docker is an open-source platform that allows us to create, deploy, and manage containerized applications. In this article, we will learn more about Docker, its advantages, installation, and how to dockerize a Node.js app. So let's begin with What is Docker.
What is Docker
Docker is a container management service. Docker's entire purpose is to make it simple for developers to create apps, ship them into containers, and then deploy them wherever they want. Now let's discuss what are containers.
Containers are a solution to the challenge of moving software from one computing environment to another and having it operate consistently. This might be from a developer's laptop to a test environment, or from a real data center computer to a virtual machine in a private or public cloud.
A container is a whole runtime environment packaged into one package: a program, together with all of its dependencies, libraries, and other components, and configuration files needed to run it. Now that you have some knowledge about Docker and Containers, let understand why should we use Docker.
Benefits of Using Docker
Before installing docker and dockerizing an application let's first understand what are the advantages of Docker. Running applications in containers brings a number of benefits such as
Performance
Docker containers are usually fast and less resource-intensive than virtual machines because containers do not contain an operating system whereas virtual machines do.
Scalability
You can quickly create new containers if demand for your applications requires them. When using multiple containers you can take advantage of a range of container management options.
Rapid Deployment
Docker manages to reduce deployment to seconds. This is because it generates a container for each process and does not boot an operating system.
CI Efficiency
Docker allows you to create a container image and utilize it throughout the whole deployment process. The ability to isolate non-dependent stages and perform them in parallel is a major advantage.
Now lets learn the facts about Docker that you might don't know :)
Docker Facts
- Docker adoption is up 30% in the last year.
- PHP, Ruby, Java, and Node are the main programming frameworks/languages used in containers.
- 2/3 of organizations that try Docker end up utilizing it. The majority of firms who will adapt did so within 30 days of first production use, and virtually all of the remaining adopters converted within 60 days.
- Docker offers a large library of pre-built images. At the time of writing, there are over 400,000 public Docker images available on the web.
Installation of docker
Mac
If you are using Mac with Apple silicon you must install Rosetta 2, to do that simply run the below command in your terminal.
softwareupdate --install-rosetta
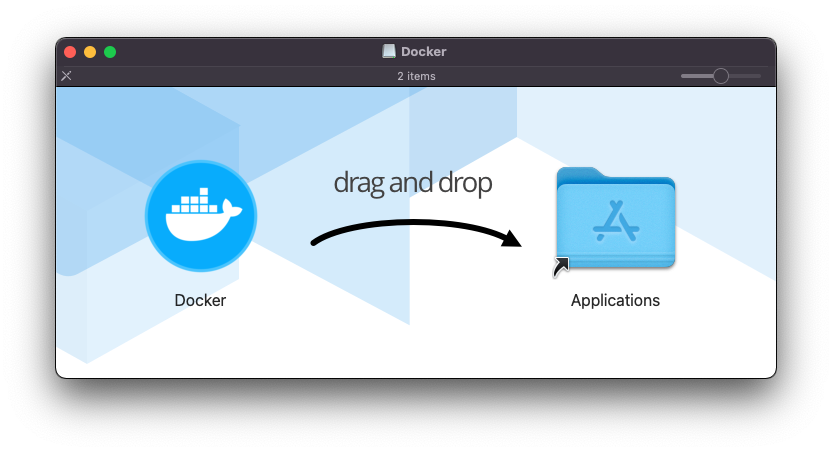
Visit this link and select your mac chip, Click on the blue button with your mac chip label on it. Once you did a DMG file will be downloaded, double click on it, and you need to drag the docker logo into Applications folder
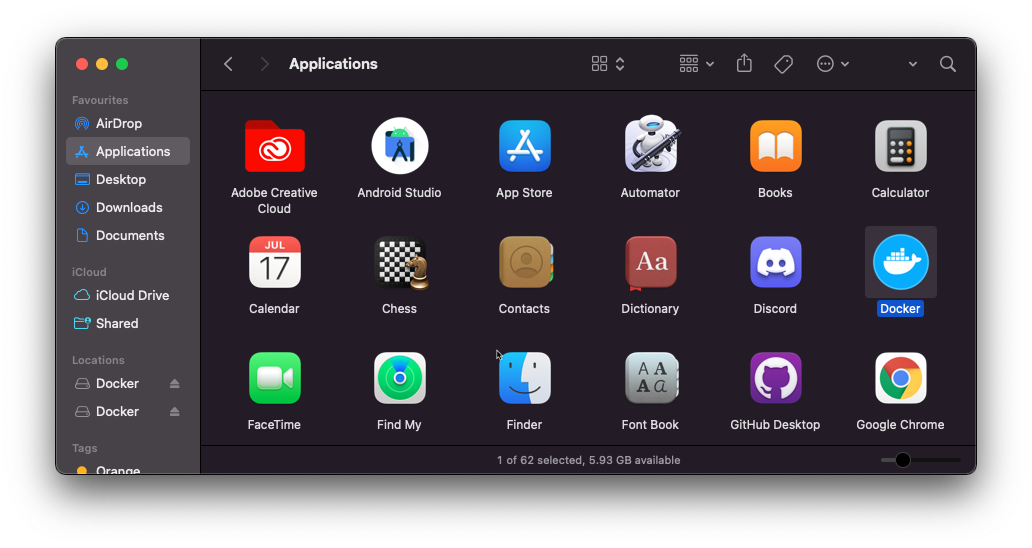
Once it is copied, you will be able to access docker from the Applications folder.

Linux
To install Docker in Linux you can simply run the below command in your terminal, this would install everything related to docker in your Linux machine.
wget -qO- https://get.docker.com | sh
Dockerizing a node.js app
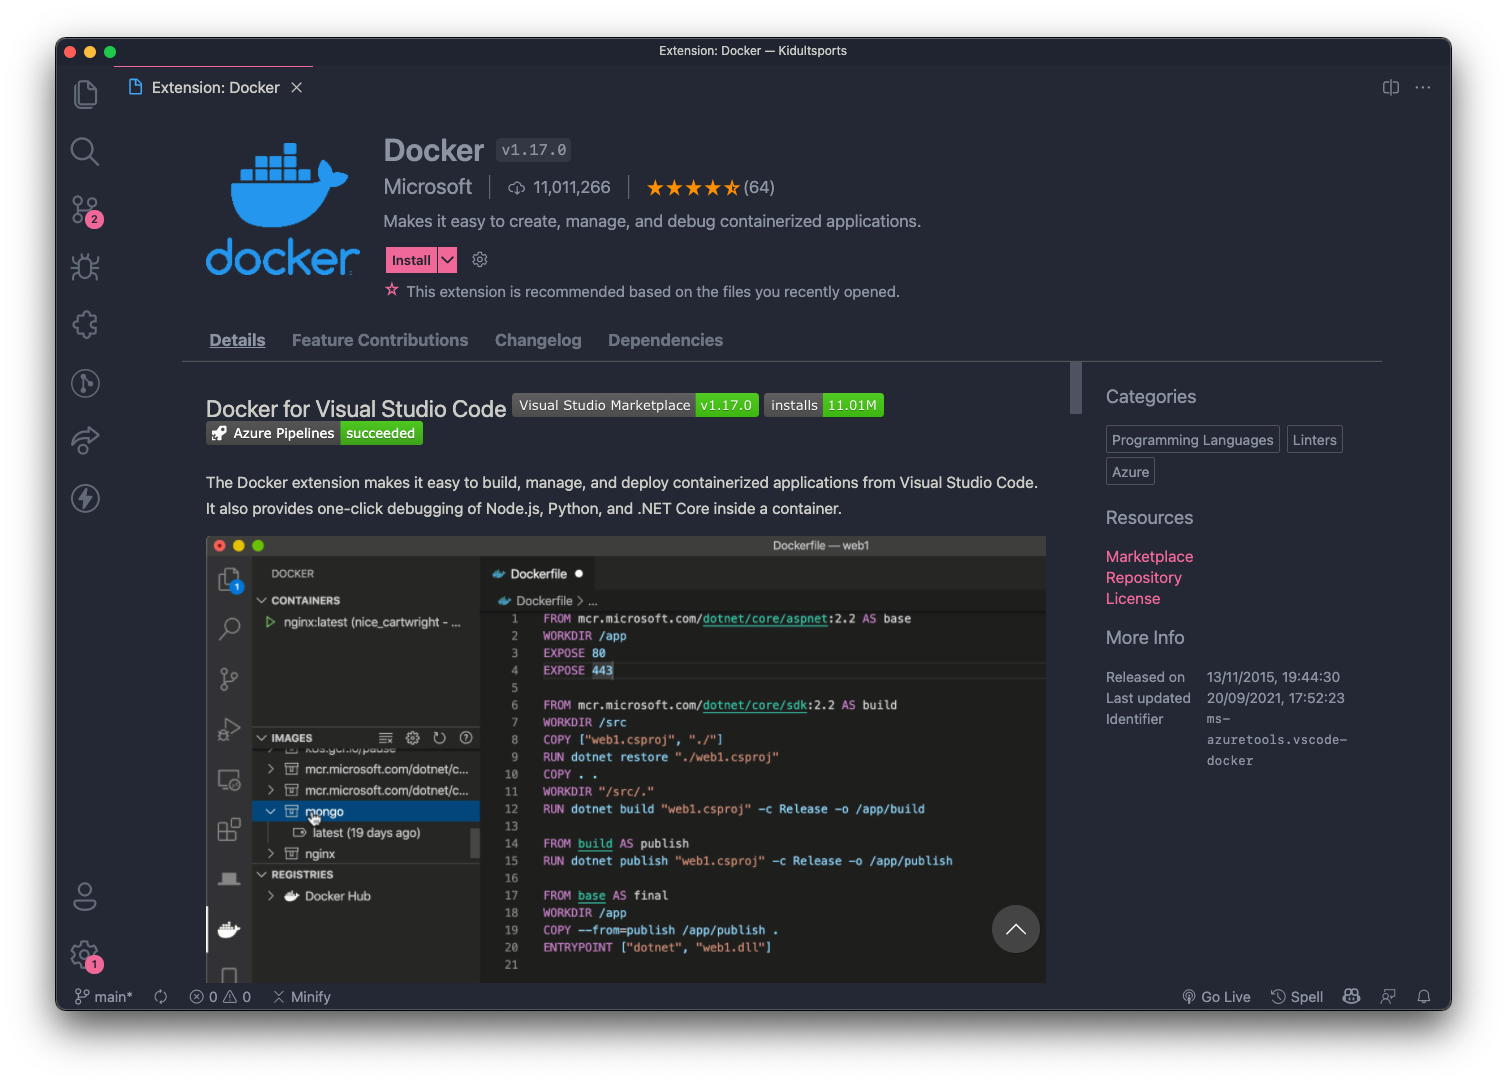
Dockerizing is the process of packing, deploying, and running applications using Docker containers. In this article, we are going to dockerize a node.js application, but before starting it, If you are using VS Code, It is better to install Docker extension.

The Docker extension makes it easy to build, manage, and deploy containerized applications from Visual Studio Code. It also provides one-click debugging of Node.js, Python, and .NET Core inside a container.
Environment Setup
In this article, I am going to create a simple node.js application that send a get request, but if you want, you can also continue dockerizing your current application throughout this article.
To create a node.js app from scratch, you just need to run
npm init
Once you complete it, a package.json file will be generated. Now you can create a new file named app.js and this is going to be the file where we will be dockerizing it. To send/get the http request we need to set up express too, so also need to install express.js. To do that simply run
npm i express
and once it is done, you can create a simple GET request. Here is the code for it :)
const express = require("express");

const app = express();

app.get("/", (req, res) => {
  res.send({
    message: "Hey, server is running :D",
  });
});

const port = process.env.PORT || 3000;
app.listen(port, () => {
  console.log(`Server is running on port ${port}`);
});
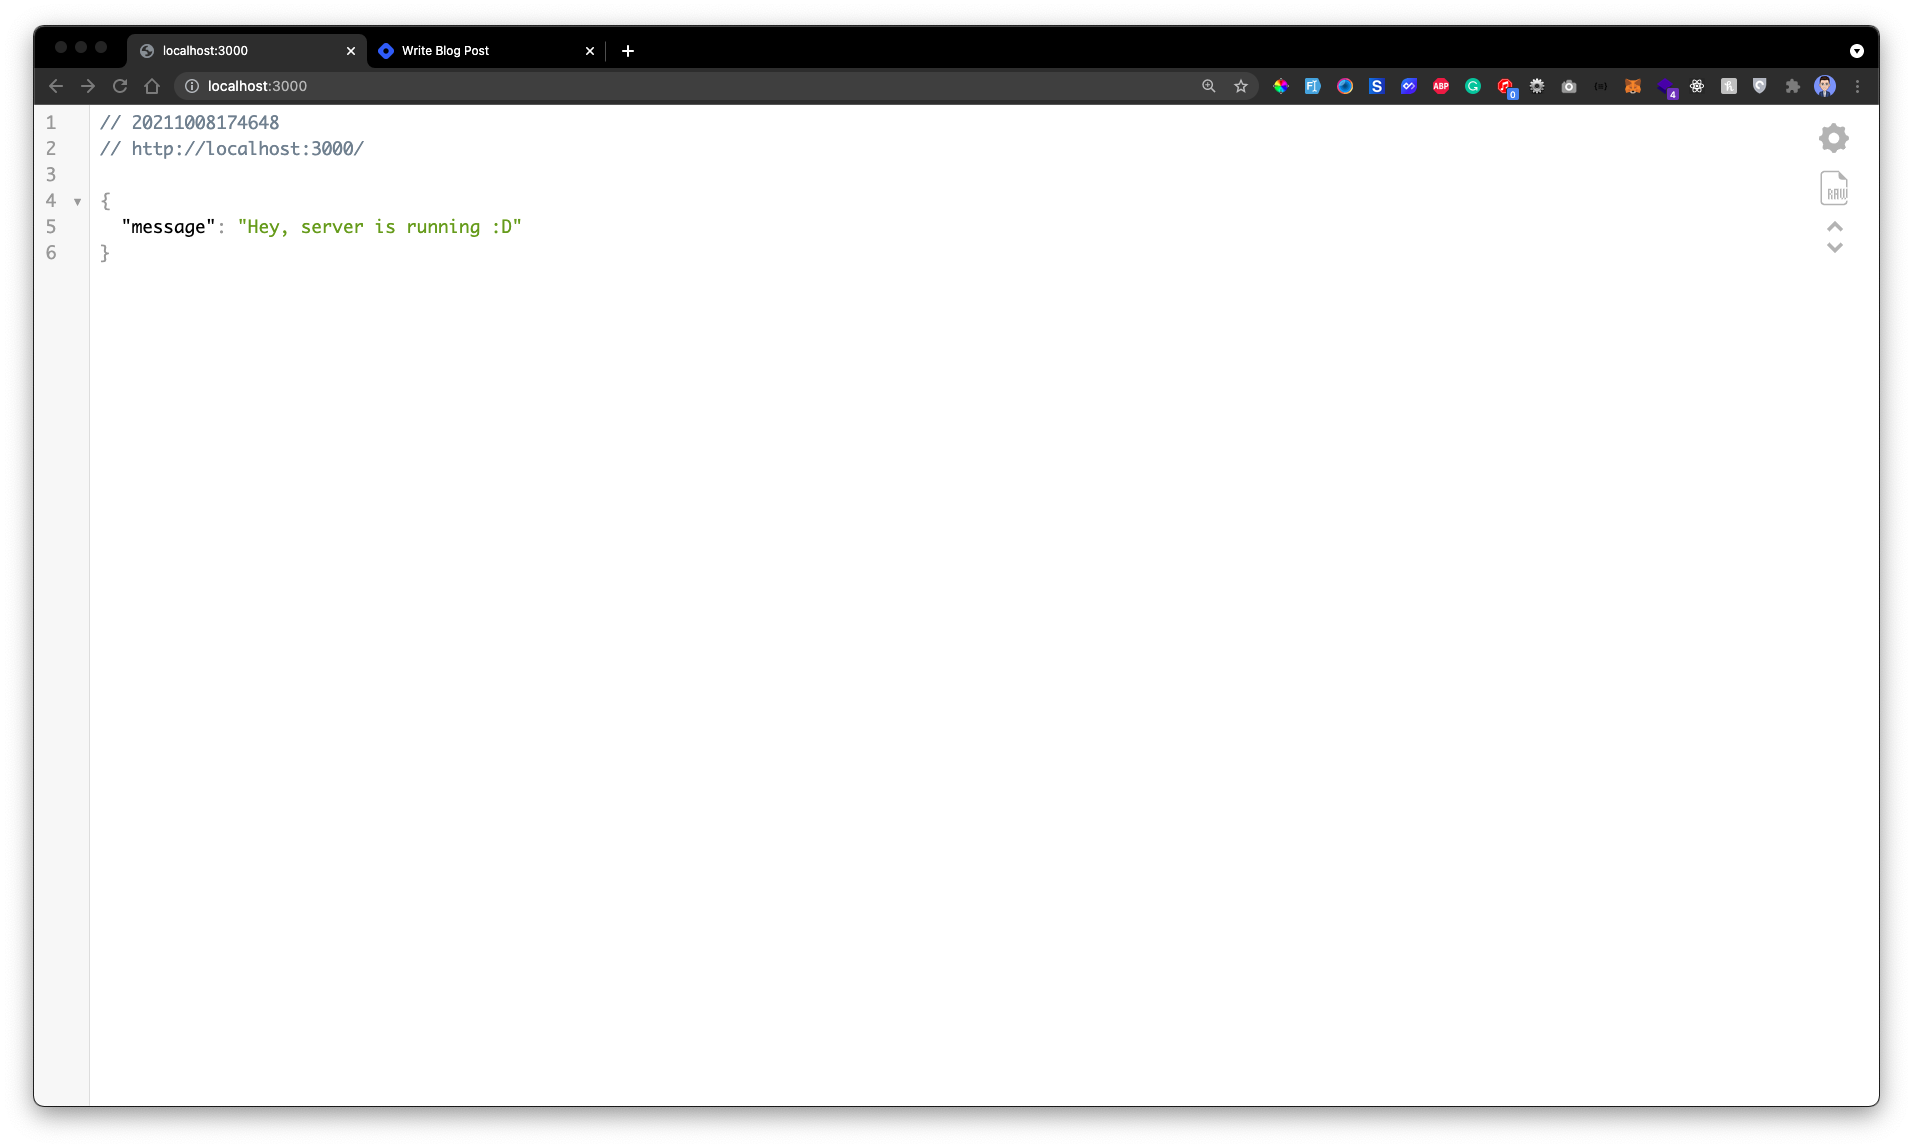
You can run this app by running node app.js and your server will start on port 3000. You can open your browser and go to localhost:3000 in which your app is running and you will see similar output ( below image ).

Now that we have our basic node.js app setup, let's start learning about Dockerfile.
Dockerfile
A Dockerfile is a text file that contains all of the commands that a user may use to construct an image from the command line.

Now, go ahead and create a Dockerfile inside of your project directory. The first thing we need to do is define from what image we want to build from. Copy the below code and paste it into your dockerfile. Don't worry I am going to explain each line :)
FROM node:14

WORKDIR /app

COPY package*.json ./

RUN npm install

COPY . .

ENV PORT=8080

EXPOSE 8080

CMD [ "node", "start" ]
In the above code
- FROM initializes a new build stage and sets the Base Image for subsequent instructions
- WORKDIR is used to set the working directory for all the subsequent instructions
- COPY let you copy files from a specific location into a Docker image
- RUN allows you to install your application and packages required for it
- EXPOSE is a way to keep track of which ports are in use, but it does not map or open any ports.
- CMD specifies the instruction that is to be executed when a Docker container starts
We now have a full set of instructions to build a docker image, Let's build it :)
Docker Image
To build a docker image, we have to use below build command
docker build [OPTIONS] PATH | URL | -
which in our case will be
docker build -t <your username>/nodedemo .
You should change to your docker hub username
After the completion of this process, a docker image will be created. To see all your docker images, run the following command in your terminal
docker images
Docker Containers
Now that we have your docker images, we can use them as a base image to create other images or we can use it to run containers.
Usually, we use this image to push it to a container registry that might be docker hub or any cloud provider. But in this article are going to push our image to docker hub. To do that simply run
docker push <your username>/nodedemo
If you got an access denied error, then you need to login into your docker hub account, to do that run
docker login
and enter your email and password in your terminal. Once you push your image to the docker hub you can access them in your docker hub profile.
Conclusion
That is it for this article. I hope you found this article useful, if you need any help please let me know in the comment section.
You can find the source code on my Github repository here .
Would you like to buy me a coffee, You can do it here.
Let's connect on Twitter and LinkedIn.
👋 Thanks for reading, See you next time
